09. Robot Motion
Robot Motion
At this point you have setup your perception pipeline, identified target object and obtained its centroid. In this section, we will explore the interface to control PR2's motion and further develop the pipeline to accomplish the pick and place task.
PR2 Base Joint
Since the robot picks up objects from the table and places them in boxes on it's sides, it is important to create a 3D collision map of this particular area for collision avoidance during trajectory execution.
Since the table and objects are right in front of the robot, the motion planning framework is able to create a collision map for that area.
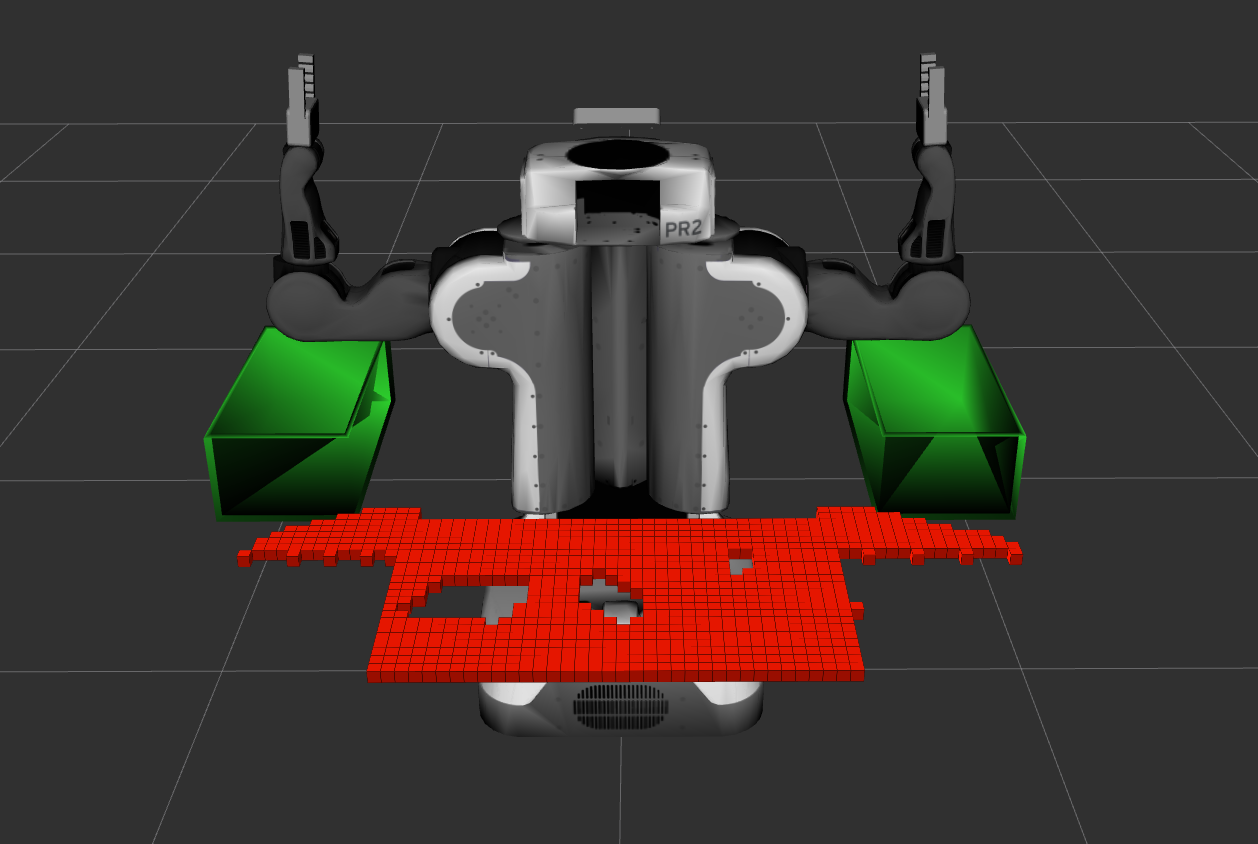
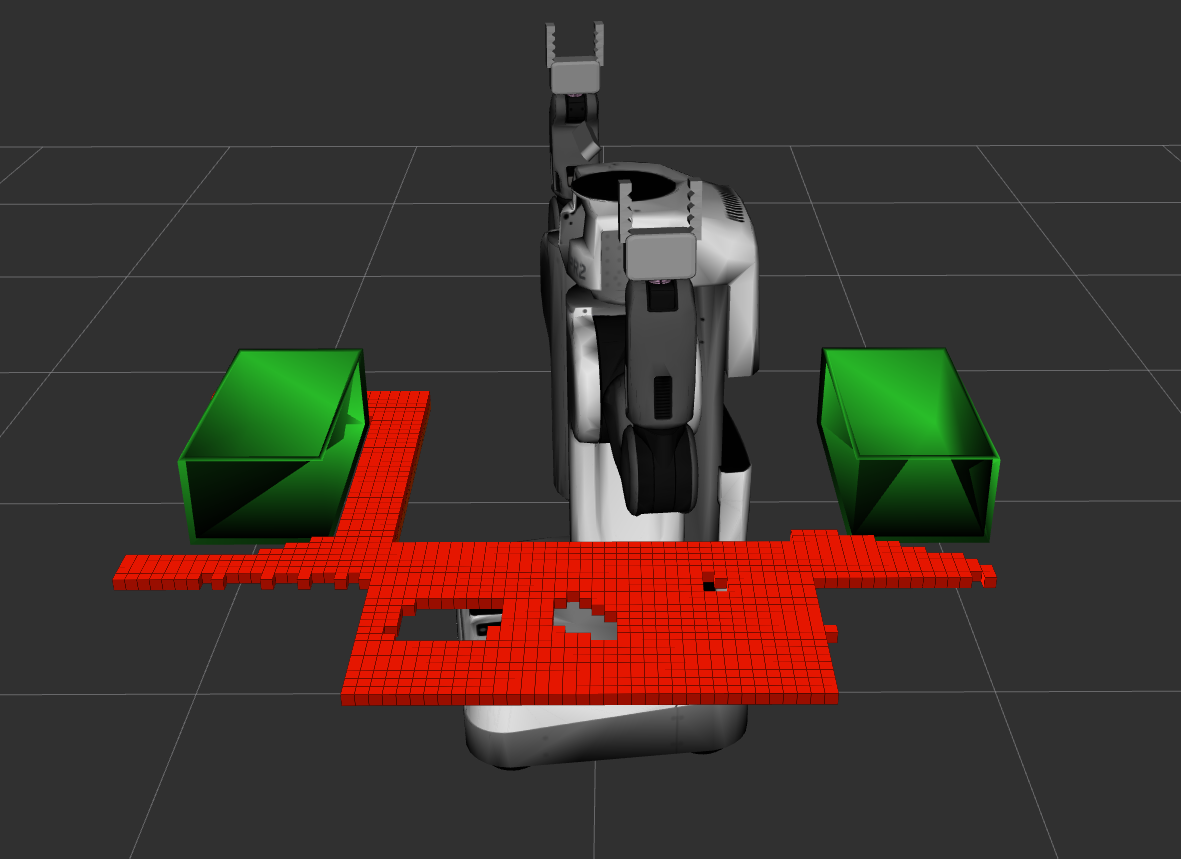
But to represent side tables with boxes in the collision map, you must rotate the robot in place.
This can be achieved by publishing joint_angle values directly to the world_joint_controller.
This world_joint_controller controls the revolute joint world_joint between the robot's base_footprint and world coordinate frames.
To control this joint publish joint_angle values (in radians) to the following topic:
/pr2/world_joint_controller/commandFor a reminder on how to publish joint angles to a topic you can refer back to this lesson.
PR2 Arms
The left and right arms of PR2 are controlled using Moveit! motion planning framework. You can learn more about Moveit! here.
Once your perception pipeline has successfully recognized a target object from the pick list, you can invoke the pick and place functionality by means of pick_place_routine Service.
For a quick refresher on ROS Services, follow this link
Essentially, pick and place operation is implemented as a request-response system, where you must write a ros_client to extend a request to the pr2_pick_place_server. Have a look at PickPlace.srv in pr2_robot/srv. This script defines the format of the service message:
# request
std_msgs/Int32 test_scene_num
std_msgs/String object_name
std_msgs/String arm_name
geometry_msgs/Pose pick_pose
geometry_msgs/Pose place_pose
---
# response
bool success
The request your ros_client sends to the pr2_pick_place_server must adhere to the above format and contain:
| Name | Message Type | Description | Valid Values |
|---|---|---|---|
| test_scene_num | std_msgs/Int32 |
The test scene you are working with | 1,2,3 |
| object_name | std_msgs/String |
Name of the object, obtained from the pick-list | - |
| arm_name | std_msgs/String |
Name of the arm | right, left |
| pick_pose | geometry_msgs/Pose |
Calculated Pose of recognized object's centroid | - |
| place_pose | geometry_msgs/Pose |
Object placement Pose | - |
You already handled generating these messages for the .yaml output, but in reality, the argument place_pose, is a bit tricky.
At this point, you know which arm you are going to use for a given object based on its group, but clearly more than one object may need to be placed in either one of the drop boxes.
The robot needs to be efficient in its use of drop box space and not place multiple objects on top of each other.
Moreover, if all objects that belong to the same group were dropped at the same location, instead of stacking like they did in Kinematics project, here they will fall out of the drop box (making PR2 a sad robot).
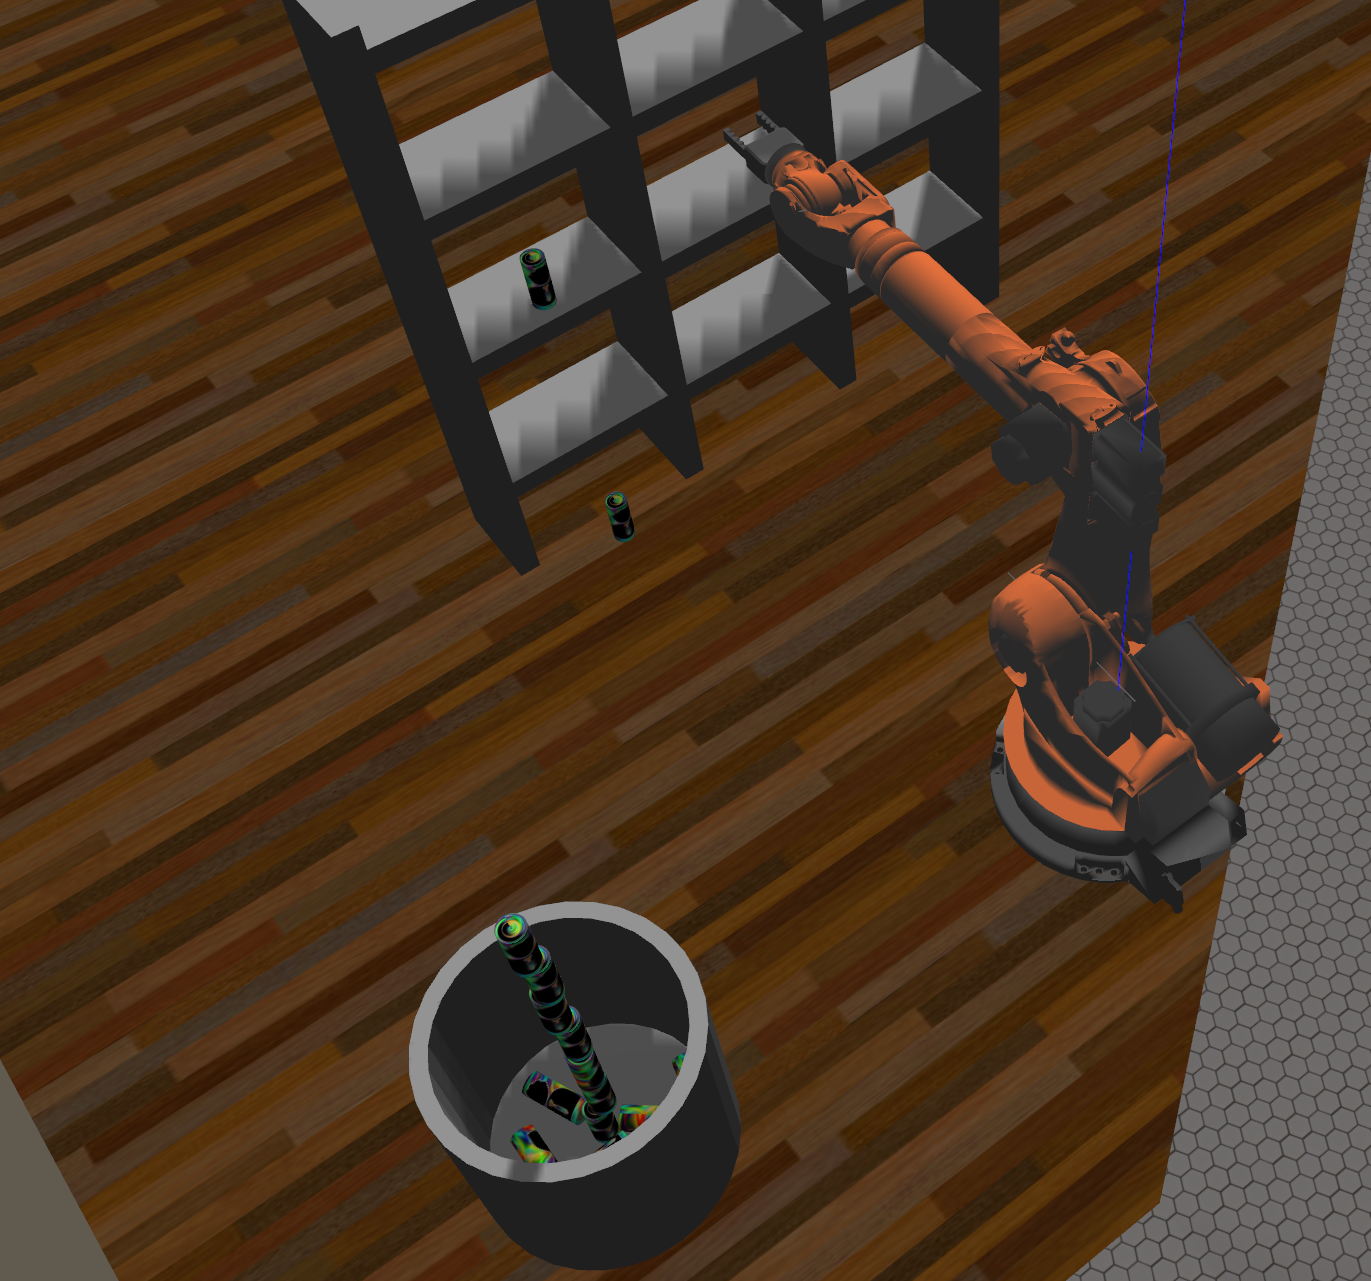
Stack of cylinders created by Richie Muniak, a RoboND student, in the Kinematics Project.
For each pick and place operation, adjust the place_pose you send by a little bit so that your objects don't pile up but land side by side nice and cozy inside the box.
As long as all the fields of your request message are valid and contain a pick_pose within a small tolerance of actual object location, the pr2_pick_place_server will use the designated arm to pick and place the object at a location specified by you.